Apparently, the Boston area is notorious for having bad roads and huge potholes. The other day I was driving my 1999 Pontiac Grand Am around here, and I hit some pothole or something really hard… didn’t notice anything wrong though. So a few weeks later when it started really acting up, so I brought it somewhere and appearantly I totally snapped one of the springs in my front left tire, and my struts were bad in the front. With how expensive things are here, they wanted $430 * 2, plus labor costs to fix it… and no, that was not going to happen. Heres a picture of the broken spring/strut next to a new one:
So I found these parts called a quick strut — I got the parts from rockauto.com, and they were around $170 each. They come with the strut, springs, and everything you need, and they’re extremely easy to install! Even though they come with decent instructions, heres a quick howto in case you ever want to do this yourself:
Disclaimer: I am definitely not a mechanic, so don”t take my advice. The springs on a car can be extremely dangerous, so ensure that you know what you’re doing. Additionally, these instructions are for my 1999 Pontiac Grand Am, so other cars will probably look a lot different than this.
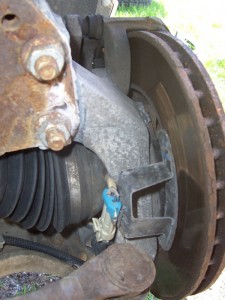
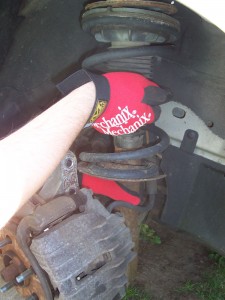
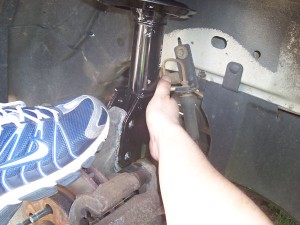
First, you should jack the car and remove your tire… after all that is done, then you should disconnect the wire for the ABS sensor, which is shown to the left (the plug with the blue thing on it). This is so that you don’t break that wire while removing stuff…
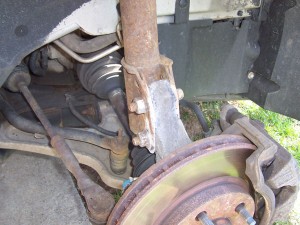
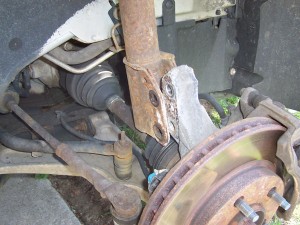
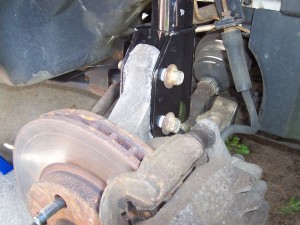
Next, you need to remove the lower part of the strut, on my car there are two screws and bolts that need to be removed… they’re quite tight.
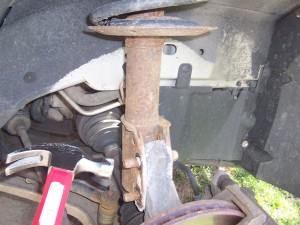
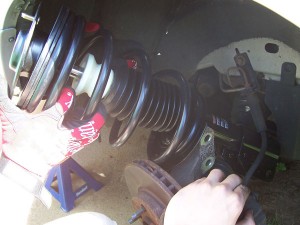
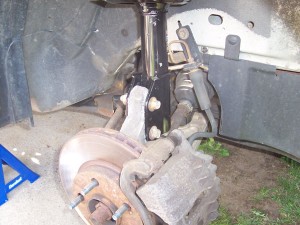
After you get the bolts off, just knock out the screws and it should all fall apart (the thing with the brakes on it stayed up for me)
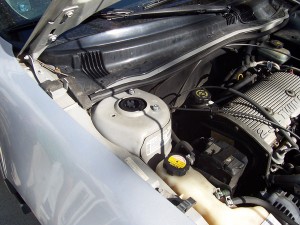
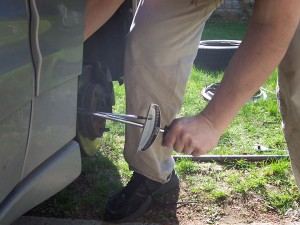
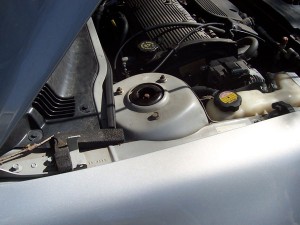 Next remove the screws from the top of the strut. DO NOT REMOVE THE CENTER SCREW!!!! If you remove the center screw, then bad things will probably happen, given that the spring will go crazy and take out anything in its path, including body parts and sheet metal in the way. So don’t do that.
Very helpful and saved me some peso’s putting these quick struts in my Grand Am. Went in just as you layed it out. Thanks–Big Mac
Thanks for the info . Did you have to compress the new coil spring to line up the lower bolt holes, or did the wheel assembly drop down enough when you jacked the car up?
No compression was required.
Thanks! This helped. Got this monrpe qick strut in Canada for $110.00 at Marshland Auto Parts in Moncton, NB